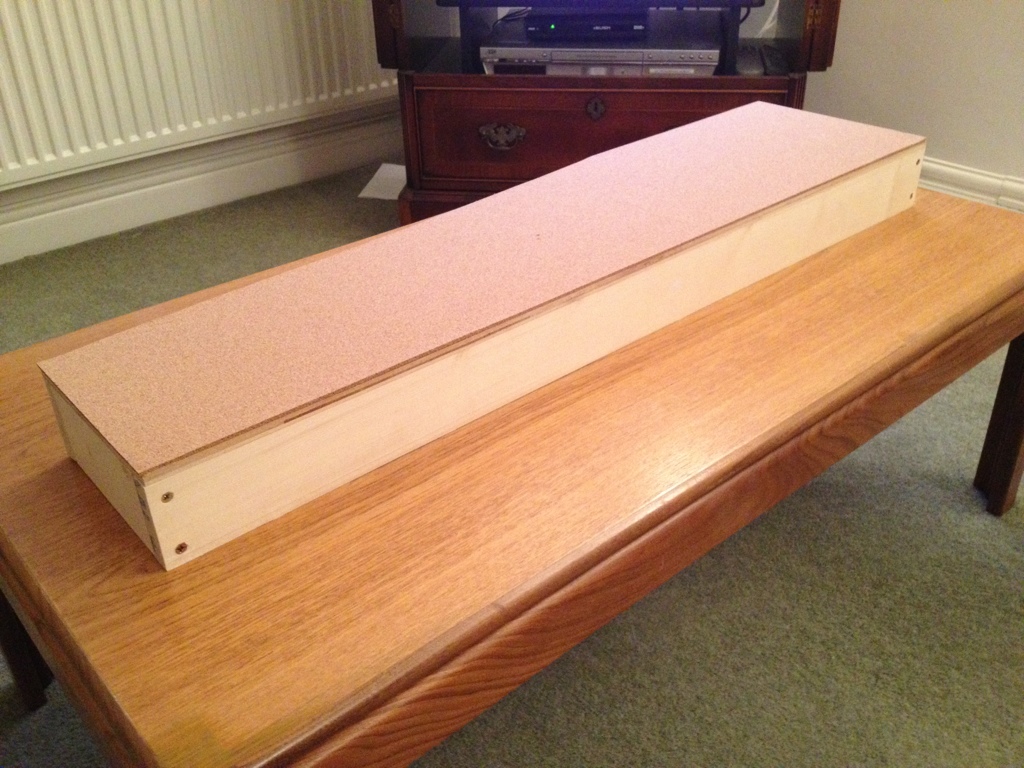
The build has actually started! We have a baseboard.
I decided that the size of the layout would make no difference to baseboard construction technique, so my materials of choice are
- 9mm plywood baseboard top: thick enough to be rigid and not flex too much and also able to take screws on the underside to secure point motors and other electrical bits and pieces; not too thick to add unnecessary weight. I’ve used MDF in the past butit doesn’t like moisture and doesn’t take screws particularly well to hold the electrics in place. MDF is also very dusty when being cut.
- 1/8 in cork sheet to cover the baseboard: Forms a lovely professional looking surface to work on, hides the screws attaching the ply to the frames, and provides sound insulation. A plain plywood surface will amplify the noise of trains passing over it and get in the way of any DCC sound effects.
- 18mm x 70mm planed timber for frames and bracing: I’ve used good old 2″x1″ in the past but it doesn’t quite provide enough depth to protect all that under board wiring. The extra inch is really worth it on a portable layout.
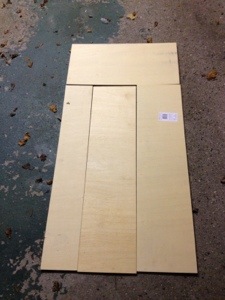
A trip to B&Q provided a pack of timber and a 4’x2′ sheet of ply. The B&Q timber cutting service reduced the ply to give me two peices 36″x9″, one for the main board surface, the other to provide the upper level.
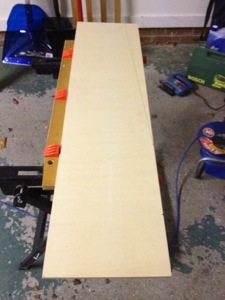
Unfortunately the cutting service only provides rectangular sections so I needed to make the diagonal cut myself. My circular saw doesn’t have a fine enough blade for cutting ply so I used a jig saw. Getting an absolutely straight cut with the jigsaw is always a problem, but I’m not too worried for this cut as it will end up out of view at the back of the board.
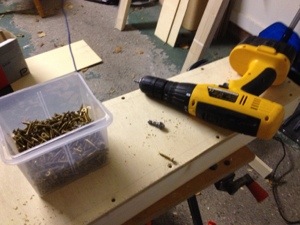
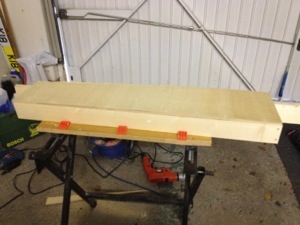
Next task is to drill and countersink screw holes all round the edge of the ply ready to attach the frames. With the top cut to final shape I then cut down the planed timber to make the framing for the board, using the electric mitre saw for speed.
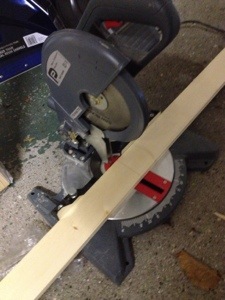
Most cuts are 90 degrees, except to attach the frame under the diagonal. A quick bit of schoolboy maths indicated that this needed to be 85 degrees. Frames are then attached to plywood top with 30mm screws and frame sides screwed together using 40mm.
I’d normally add some cross braces in the middle of a baseboard, but I decided as this one was so small And seemed nicely rigid with frames attached I could get away without any further structure.
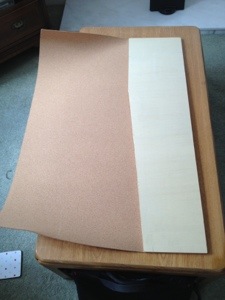
Final task is to cover the board with cork. I used the ply set aside for the upper level as a template to cut the cork sheet to size as it is identical at the moment to the piece forming the main board. My tool of choice is a nice sharp scalpel which will go through the cork in a single stroke.
I use PVA liberally spread across the baseboard to attach the cork.
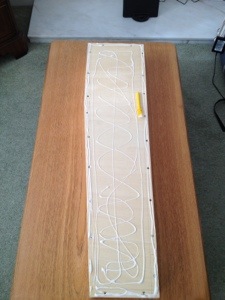
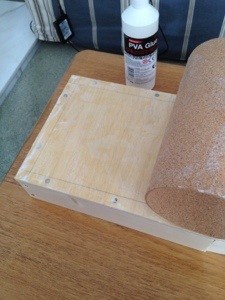
The upper level ply comes in useful once more to place on top of the cork, weighted down with books, until the glue is dry.
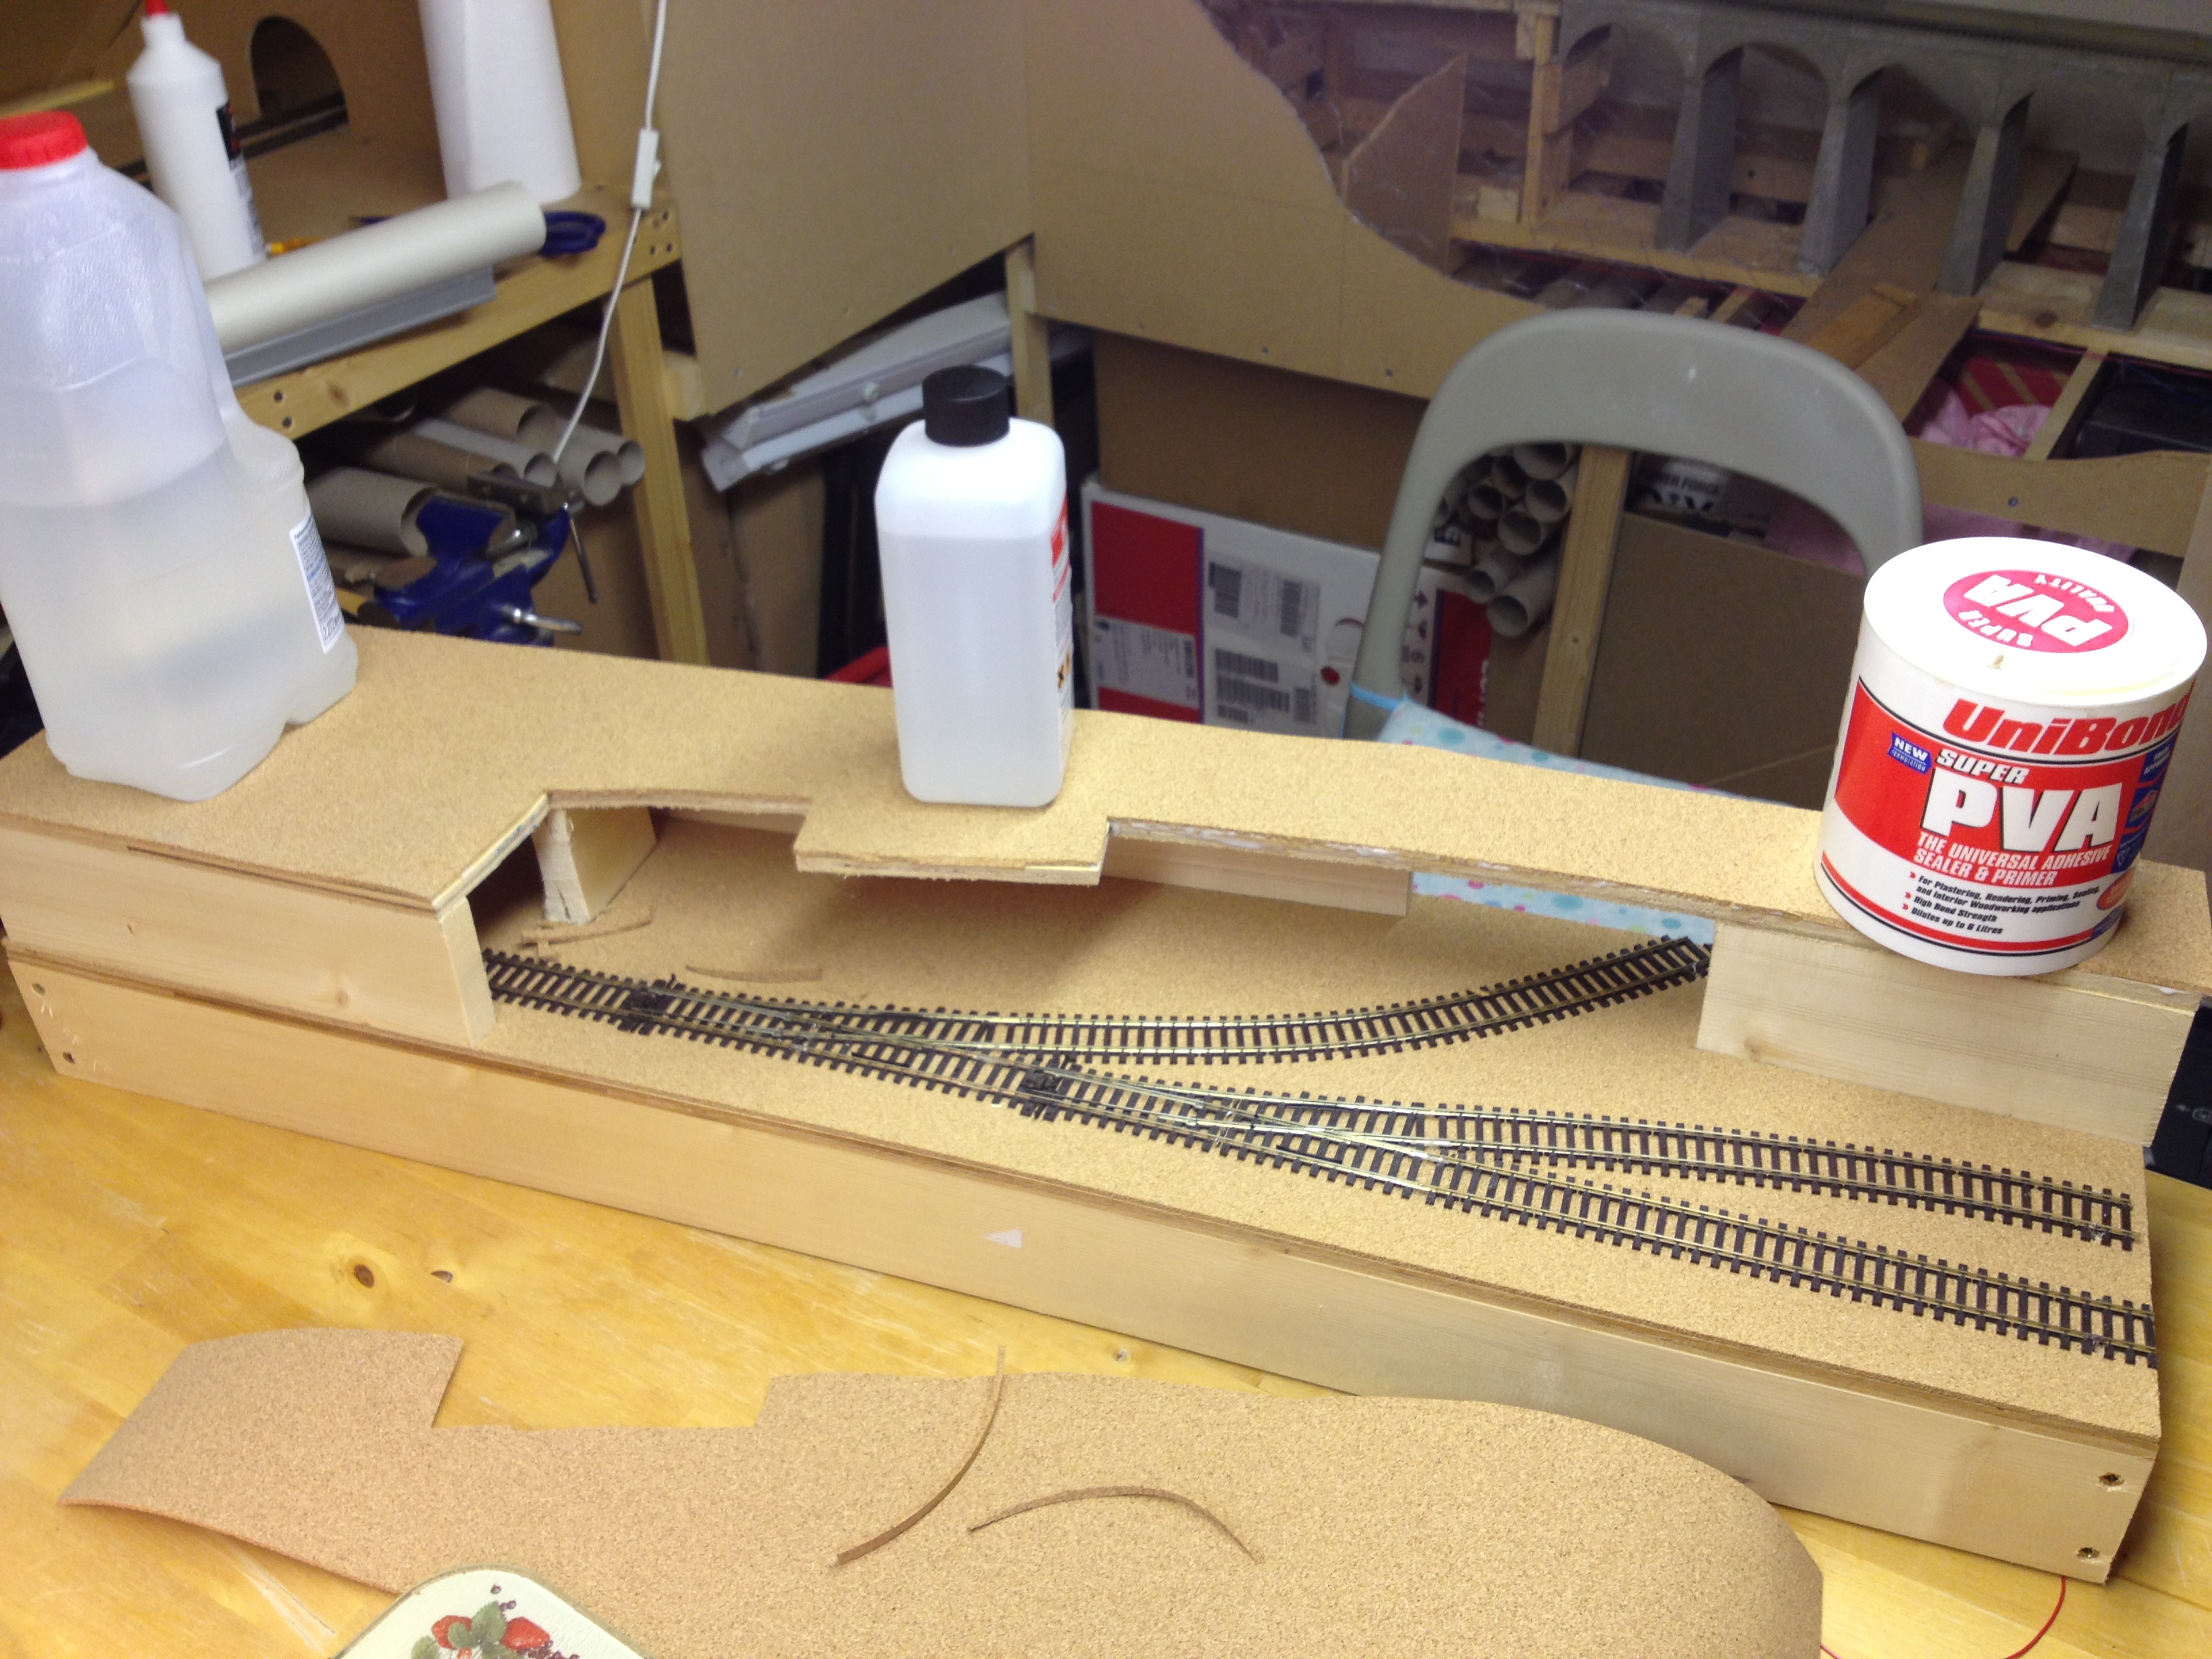
The finished result is one very nice, sturdy base to build the layout on. Quite a pleasing couple of hours work.
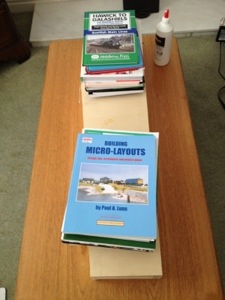
Much more information on building baseboards is available in the book below.


