In the last 2 blog entries I created a portable programming track and DCC fitted a locomotive. Now we use the programming track to set up the DCC chip for use. This post will cover basic setup, and subsequent blogs will look at using Decoderpro for more advanced things.
Lets assume you have Decoderpro installed and working, if not, this was covered here.
Step 1 Start Decoderpro and put the locomotive on the programming track.
In this case I’m programming my Bachmann WD Austerity 2-8-0 which I have already fitted with a ZTC255 decoder. I now want to assign the 4 digit DCC address “7199” to the locomotive. (I always use the last 4 digits of the number on the cabside, which for most of my LNER engines is the whole number).
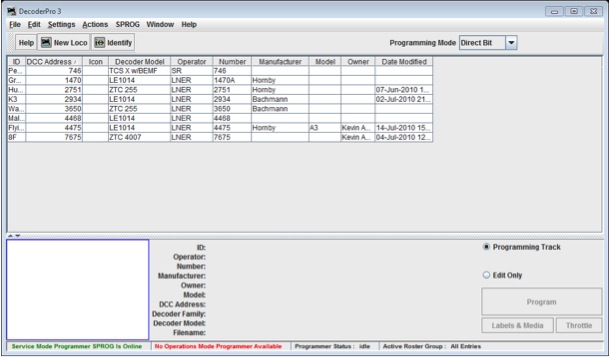
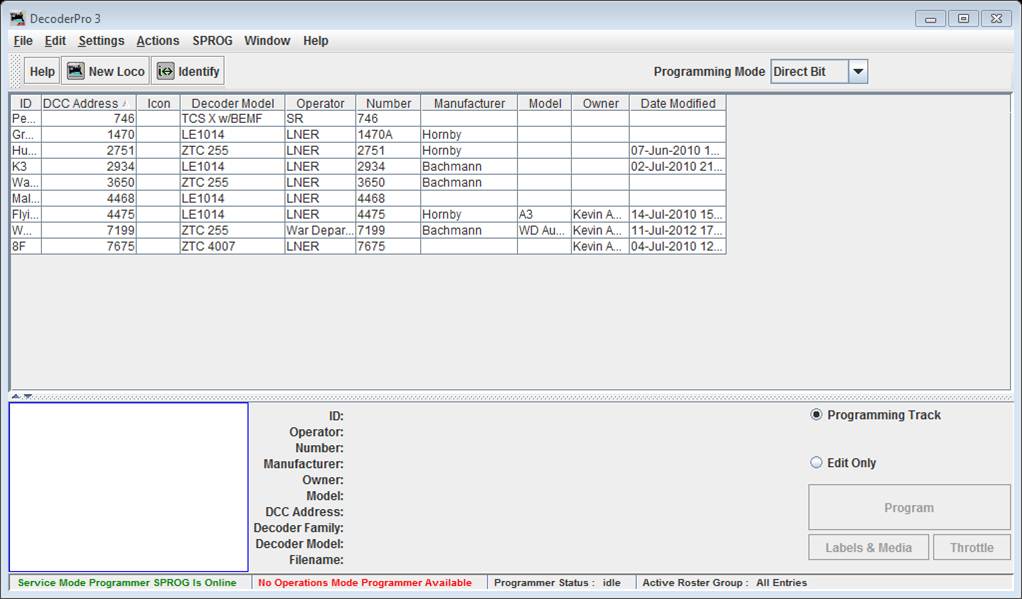
On startup, Decoderpro will open at a screen showing the existing engines in the roster. Of course if you have never used Decoderpro before, this will give an empty list.
Decoderpro displays the current locomotive roster on startupStep 2 Select “New Loco” option & choose the decoder type
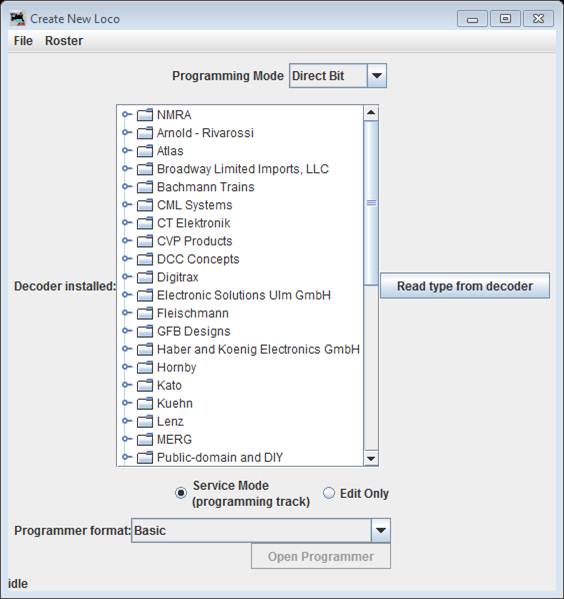
Decoderpro now presents us with a list of manufacturers and their chips to browse through and manually select the chip. Thats great if we know what it is, however DecoderPro is also able to request information from the decoder to identify the make and model automatically.
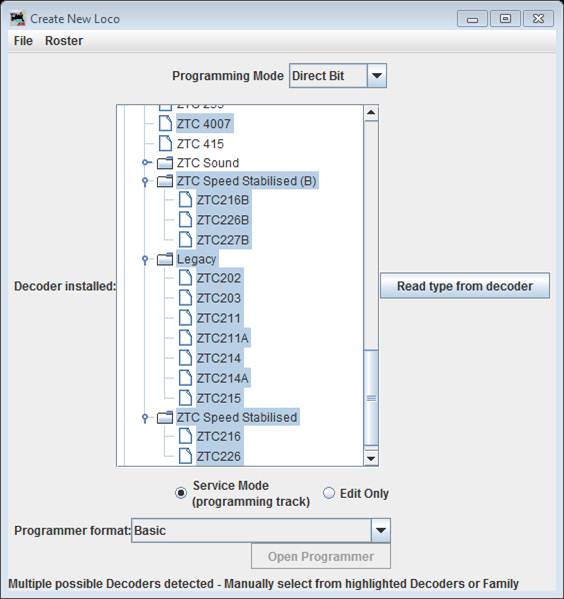
If we select “Read type from Decoder” DecoderPro will attempt to identify the decoder that is fitted within the loco, it is likely you will be presented a list of alternatives to choose from. DecoderPro is supported by a very active community and regular updates to the software ensure that most decoders are listed and manufacturers new products appear pretty quickly.
I received a list of various possible decoders manufactured by ZTC
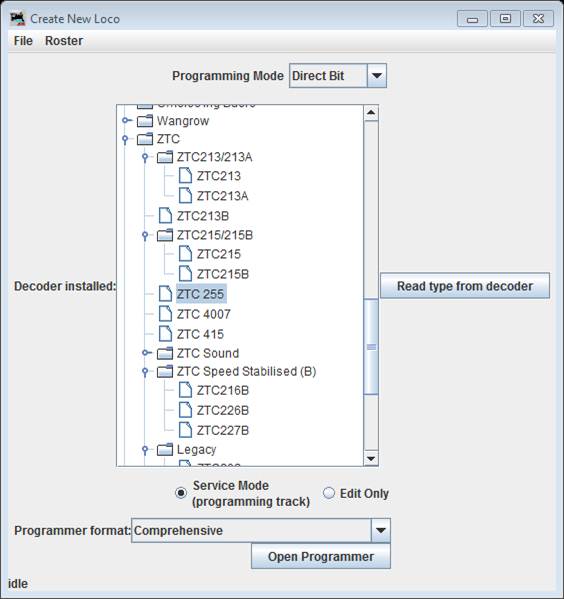
I now selected the ZTC255, changed the programmer format from “Basic” to “Comprehensive” (Though at this stage it would be OK to leave “Basic” selected as we will only change the basic settings), and selected “Open Programmer”
Step 3 Complete the basic settings
The comprehensive programmer opens up a screen with quite a number of tabs that will allow all the cvs on the decoder to be manipulated.
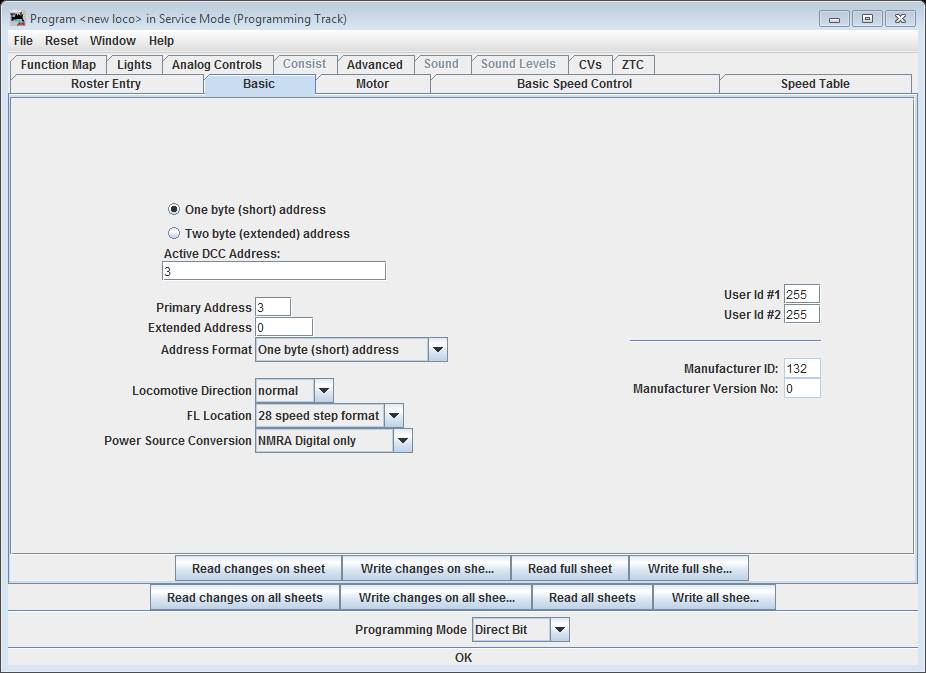
for now, all we want to do is use the tab “basic”
This will allow the address of the chip to be set. The buttons at the bottom of the screen allow us to read the information that is already on the decoder or write new information, we can do either of these tasks for just the settings shown on the current tab, or for all the tabs available. This is particularly useful as we can read in all the current settings and then change the ones we want. In the example, the decoder was brand new, so has default settings in place, but it may be the decoder has previously been programmed and we just want to tweak something. I always read all the settings currently on the decoder. Decoderpro will give a warning that this will take a while, but generally the operation should complete in a couple of minutes. You will see the progress cv by cv at the bottom of the screen.
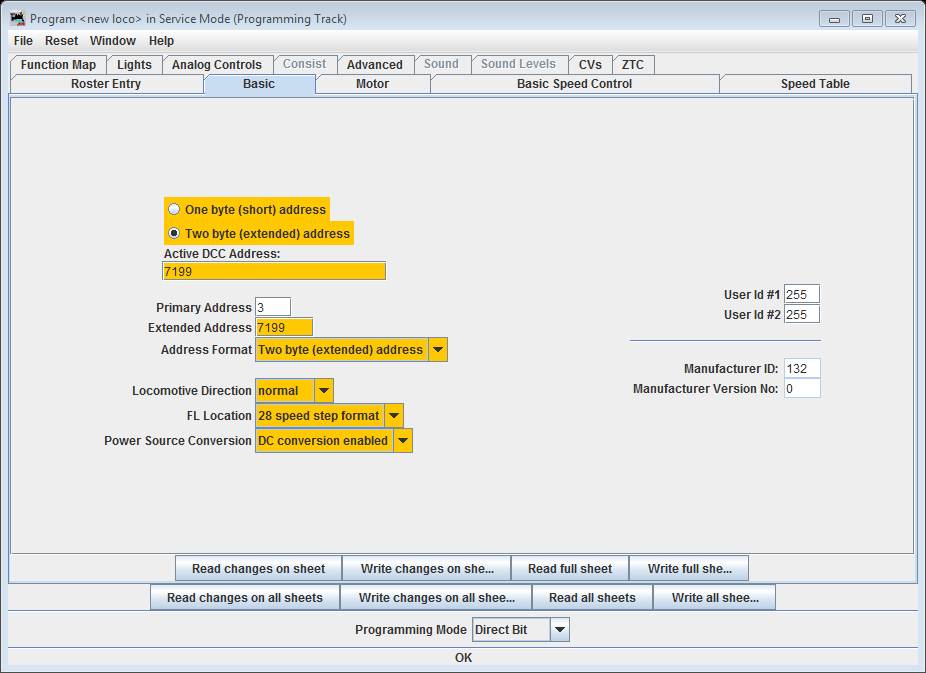
I then add the changes I want to make. Note that changes are automatically highlighted.
Once this is done we can return to the roster screen and add some basic information that y come in useful if we intend to use other parts of the JMRI suite of programs. You can, if you wish , write the changes to the decoder. There is no restriction on how many times you do this.
Step 4 Enter Roster Information (Optional)
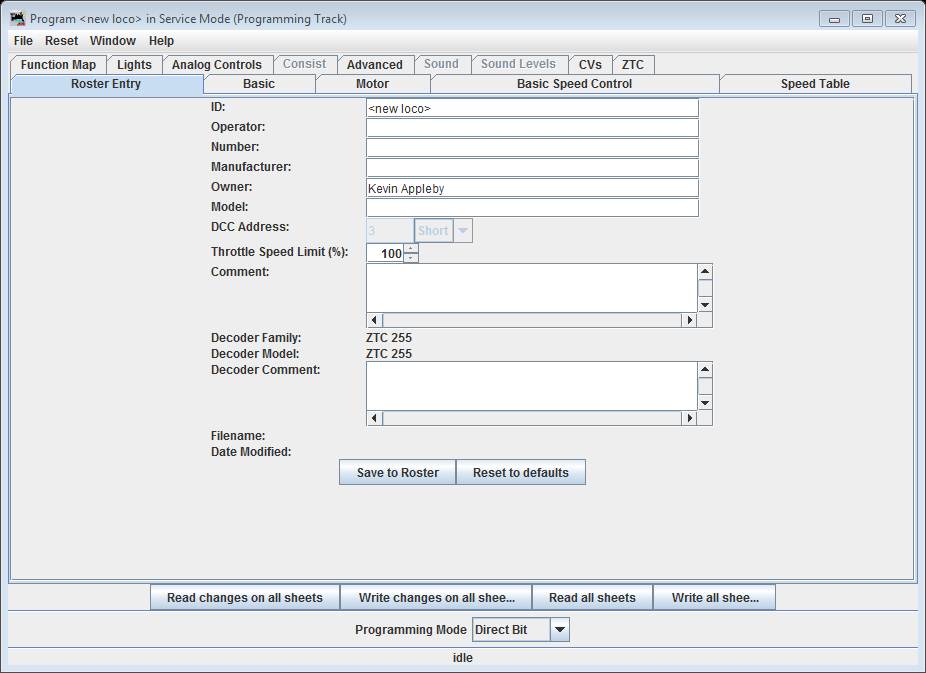
The roster allows a name for the locomotive to be entered, and we will see later JMRI allows us to use this name to address the locomotive as an alternative to the number. Other information can be added as shown below for the WD Austerity:
We can save the information to JMRI’s roster file, and if we havent already done so write all the changes to the decoder. Once we close the programmer window the new engine appears in the roster list:
Step 5 Drive the locomotive
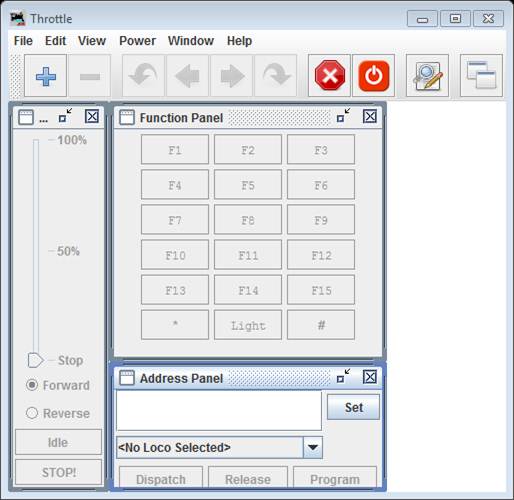
We now want to see how well our new engine runs on the basic decoder settings. This can be done through our DCC system on the layout or using a throttle in Decoderpro. A throttle can be opened by selecting “Actions” and “Open new throttle” from the main menu bar.
The throttle will allow us to control speed and direction of the loco and also try out any function buttons that might be in use. The arrow keys on the PC keyboard also allow speed and direction control. The throttle will let us key in the number of the new engine, or if we added it to the roster to select it by name from the dropdown list.
Before the loco will run the red power button must be clicked to the on position (it will turn green), and be aware of theposition of the emergency stop button. The JMRI throttle layout can be customised and saved, more about this in a future post.
The first test is to see how well the loco runs at slow speed, if response isnt good we can change some of the more complex cv settings and alter the start voltage. Infact through the comprehensive programmer we can tweak whatever setting we wish very easily, but again thats for a future post………..


