The 300 inch challenge micro layout now has its top level baseboard (or benchwork for our American cousins) in place. Unfortunately this happened with only a week to go to the Bassetlaw (North Notts) Railway Society annual exhibition the layout wasn’t part of the 300 inch competition. lets hope it makes it in time for next year.
For those interested in the detail I used the cardboard mockup as a basis for cutting out the real thing. This is described in a previous article Mocking things up is really useful, and allows an amount of trial and error before things become permanently attached. I’d recommend the use of old cardboard boxes to anyone for this purpose!
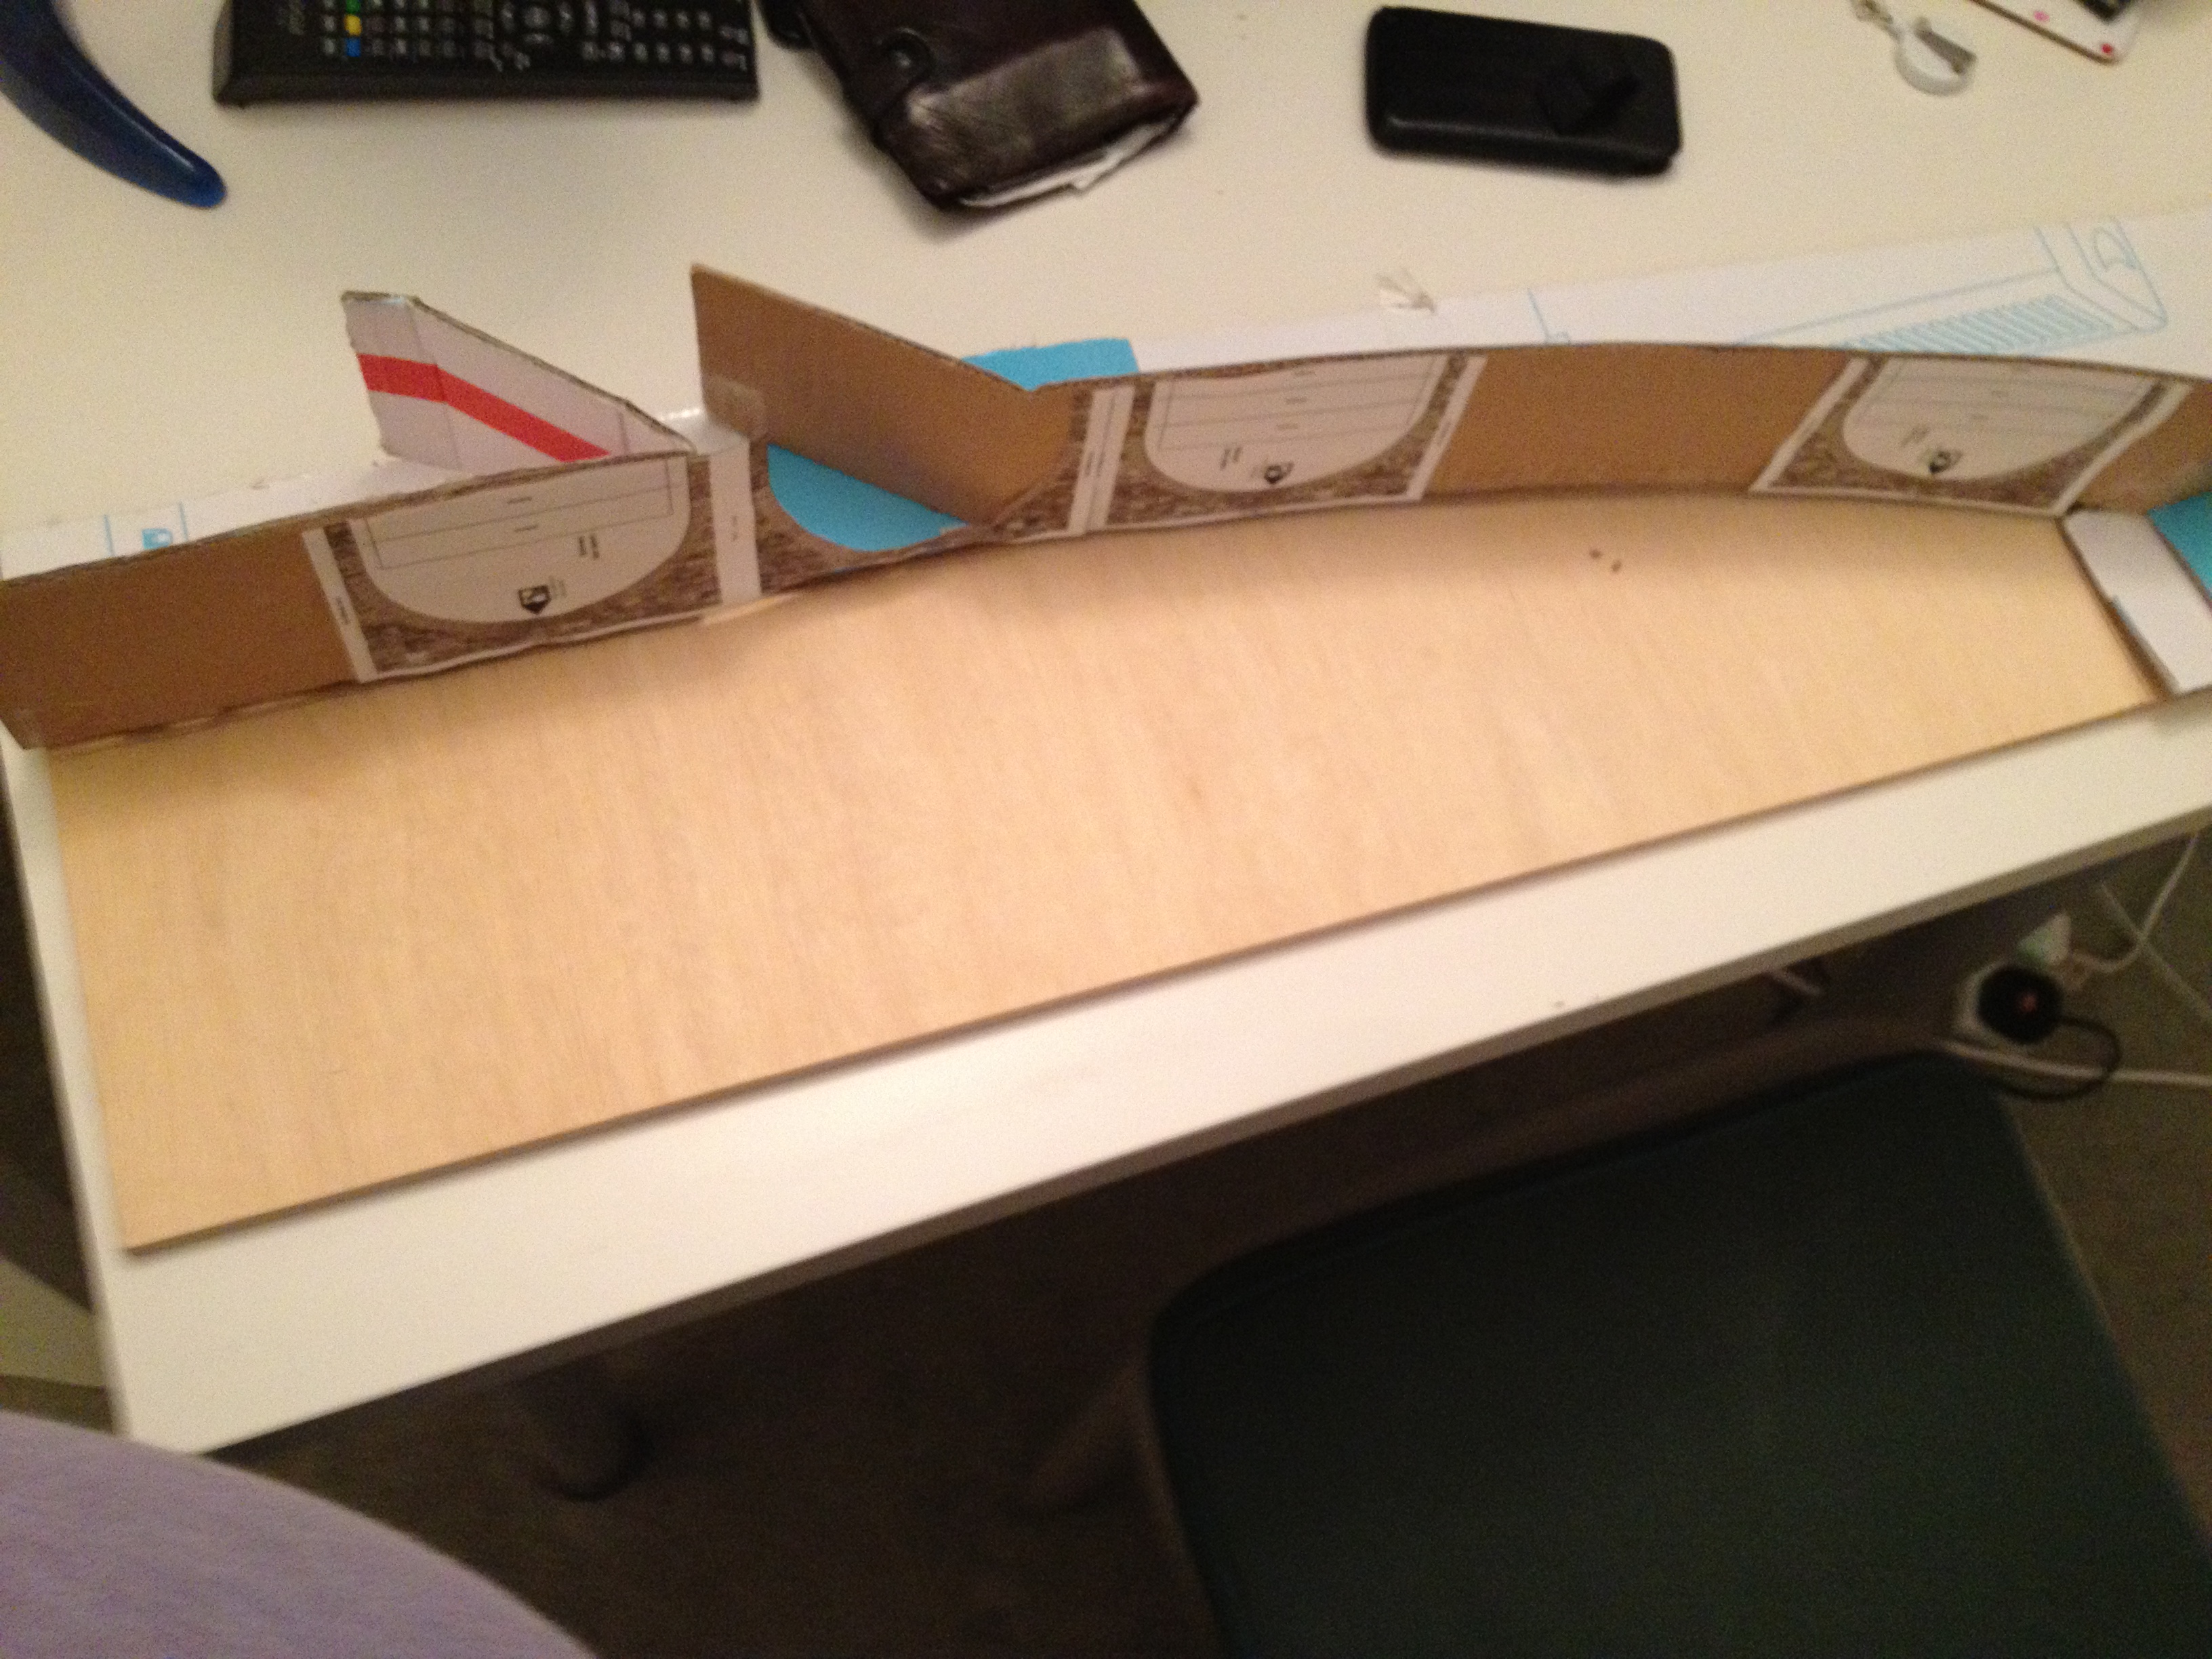
Using the cardboard mockup to mark out the plywood top
The cardboard mockup allowed a few early decisions to be made:
- The height of the top board, based on the height of the arches in the scalescenes kit
- The positioning of bridge portals for tracks to disappear off scene
- The gap between arches to allow for the signal box
- The best line for the top level track, and therefore the position of the edge of the top level board
I then selected suitable timbers to support the board, and set about cutting to size and fixing together. By pure coincidence the 9mm ply attached to the same timber as I used for the lower level frames gave exactly the right elevation for the top section.
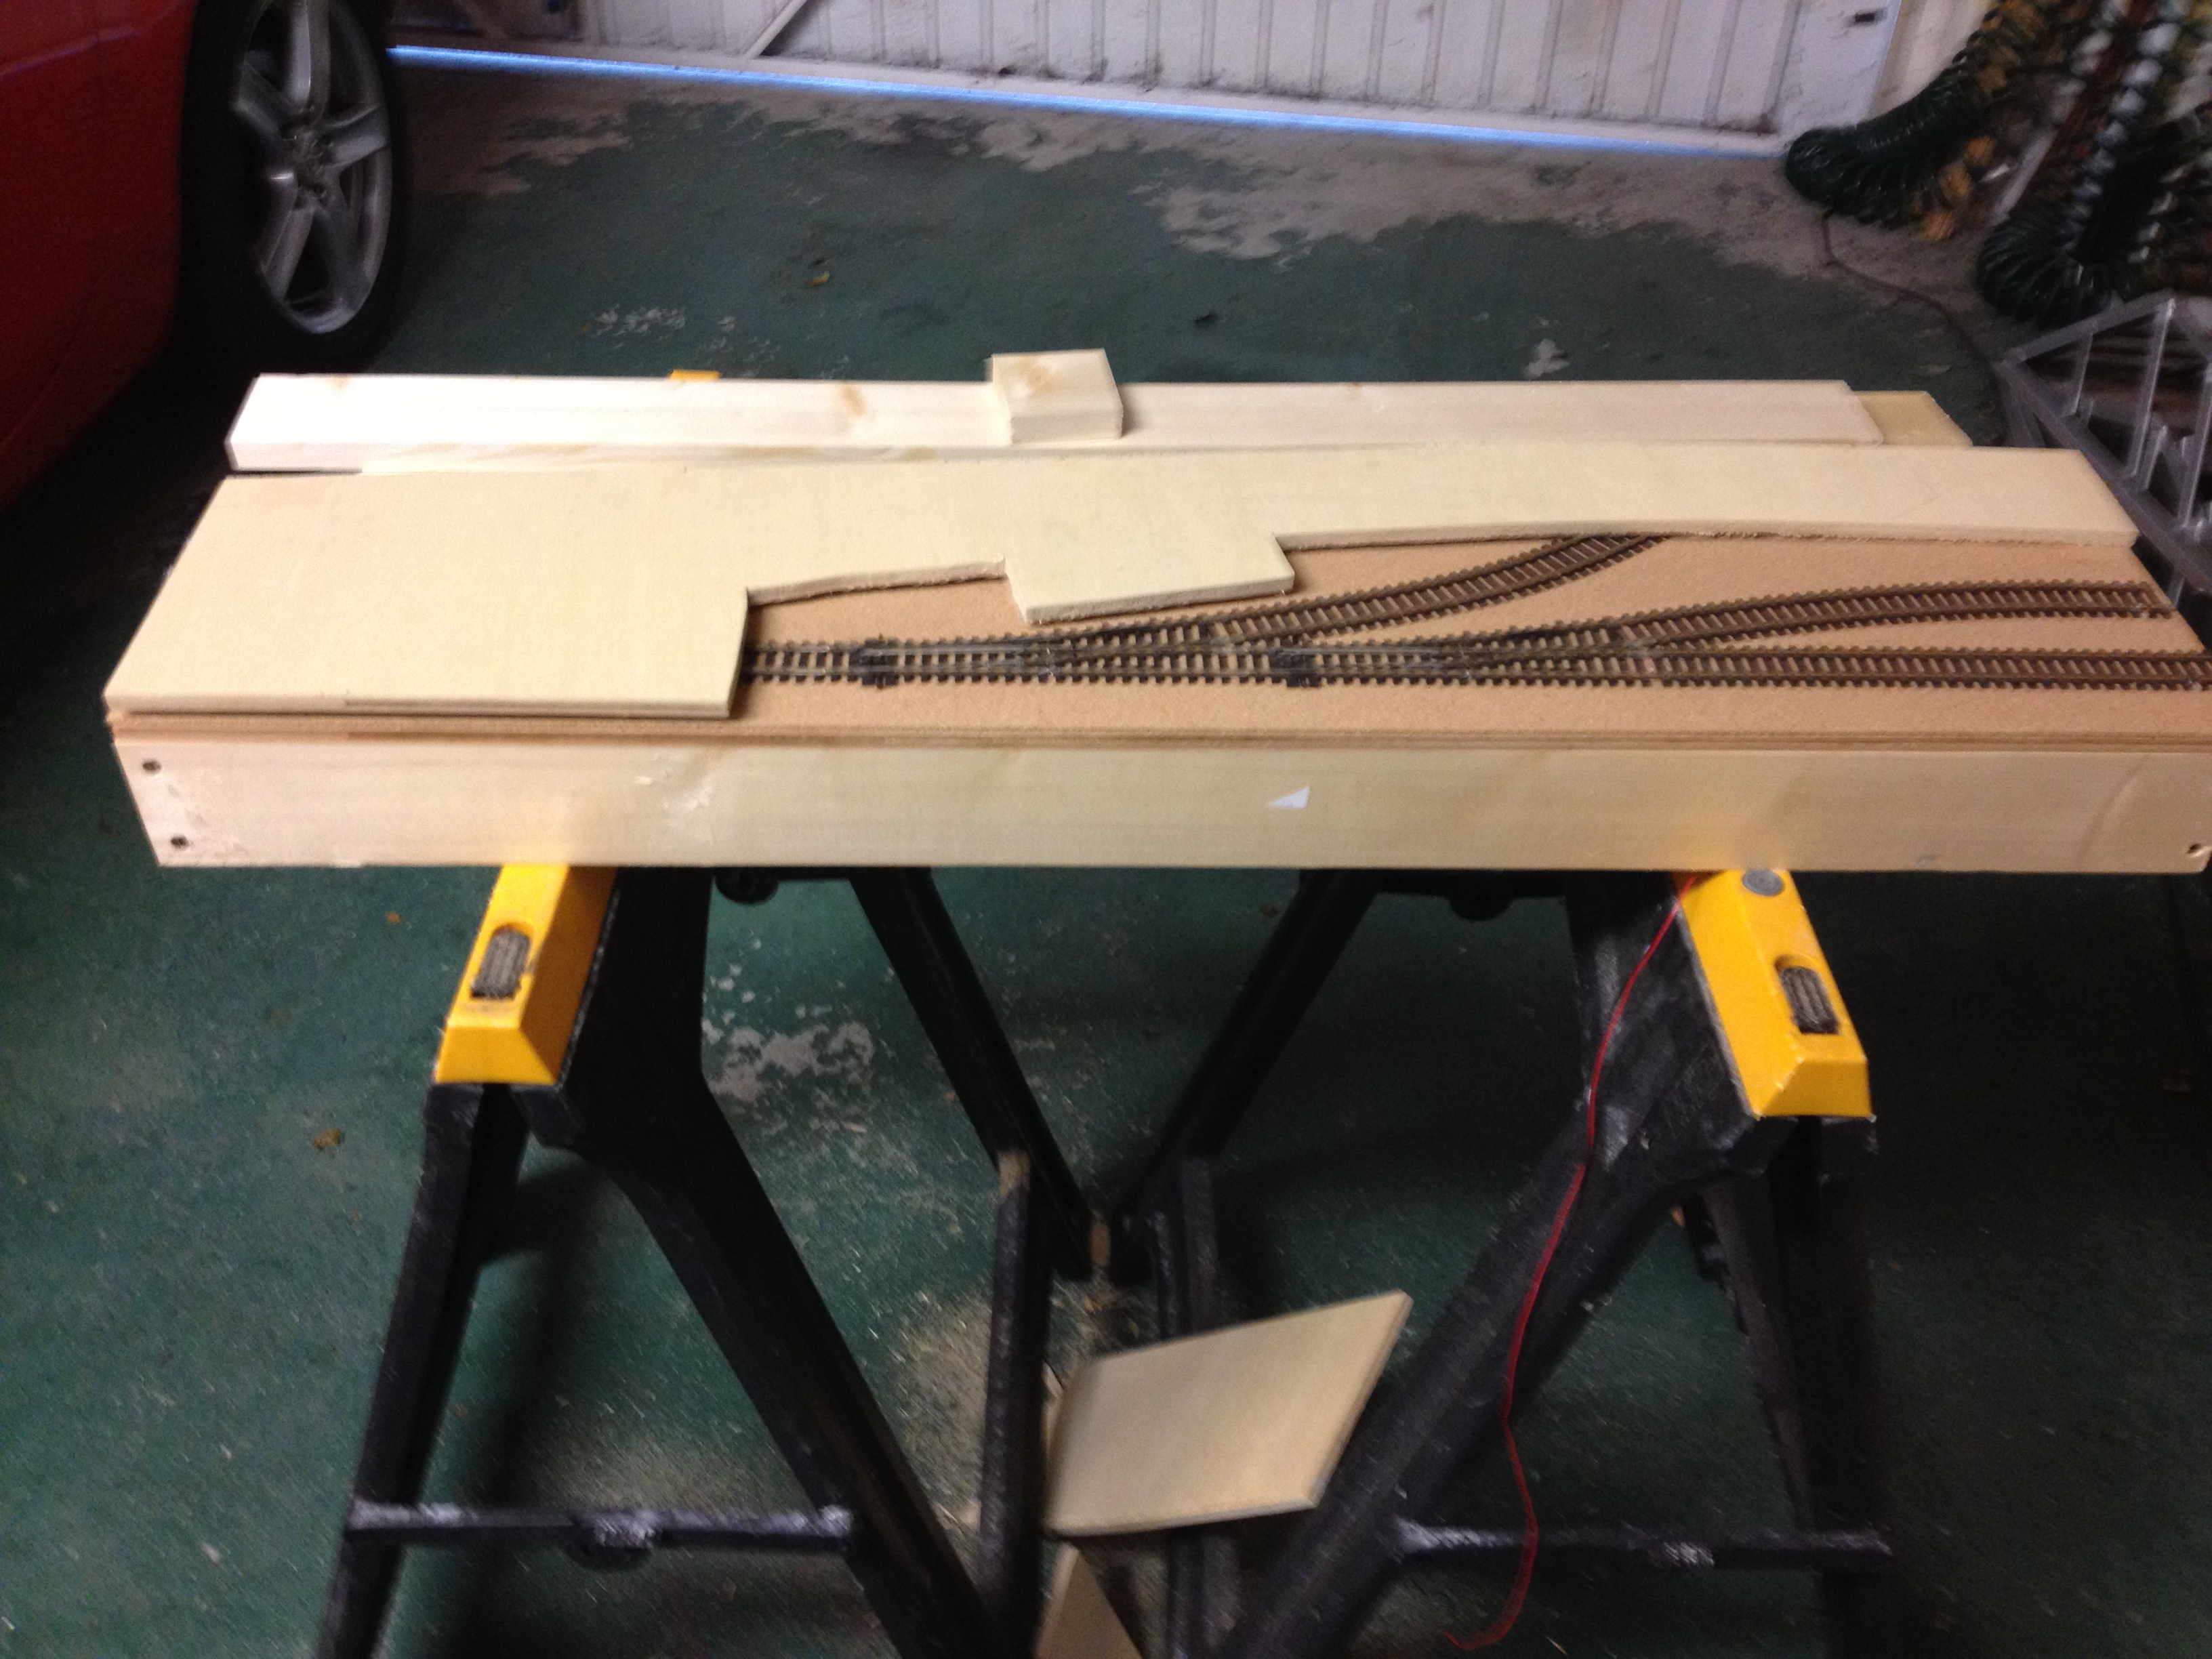
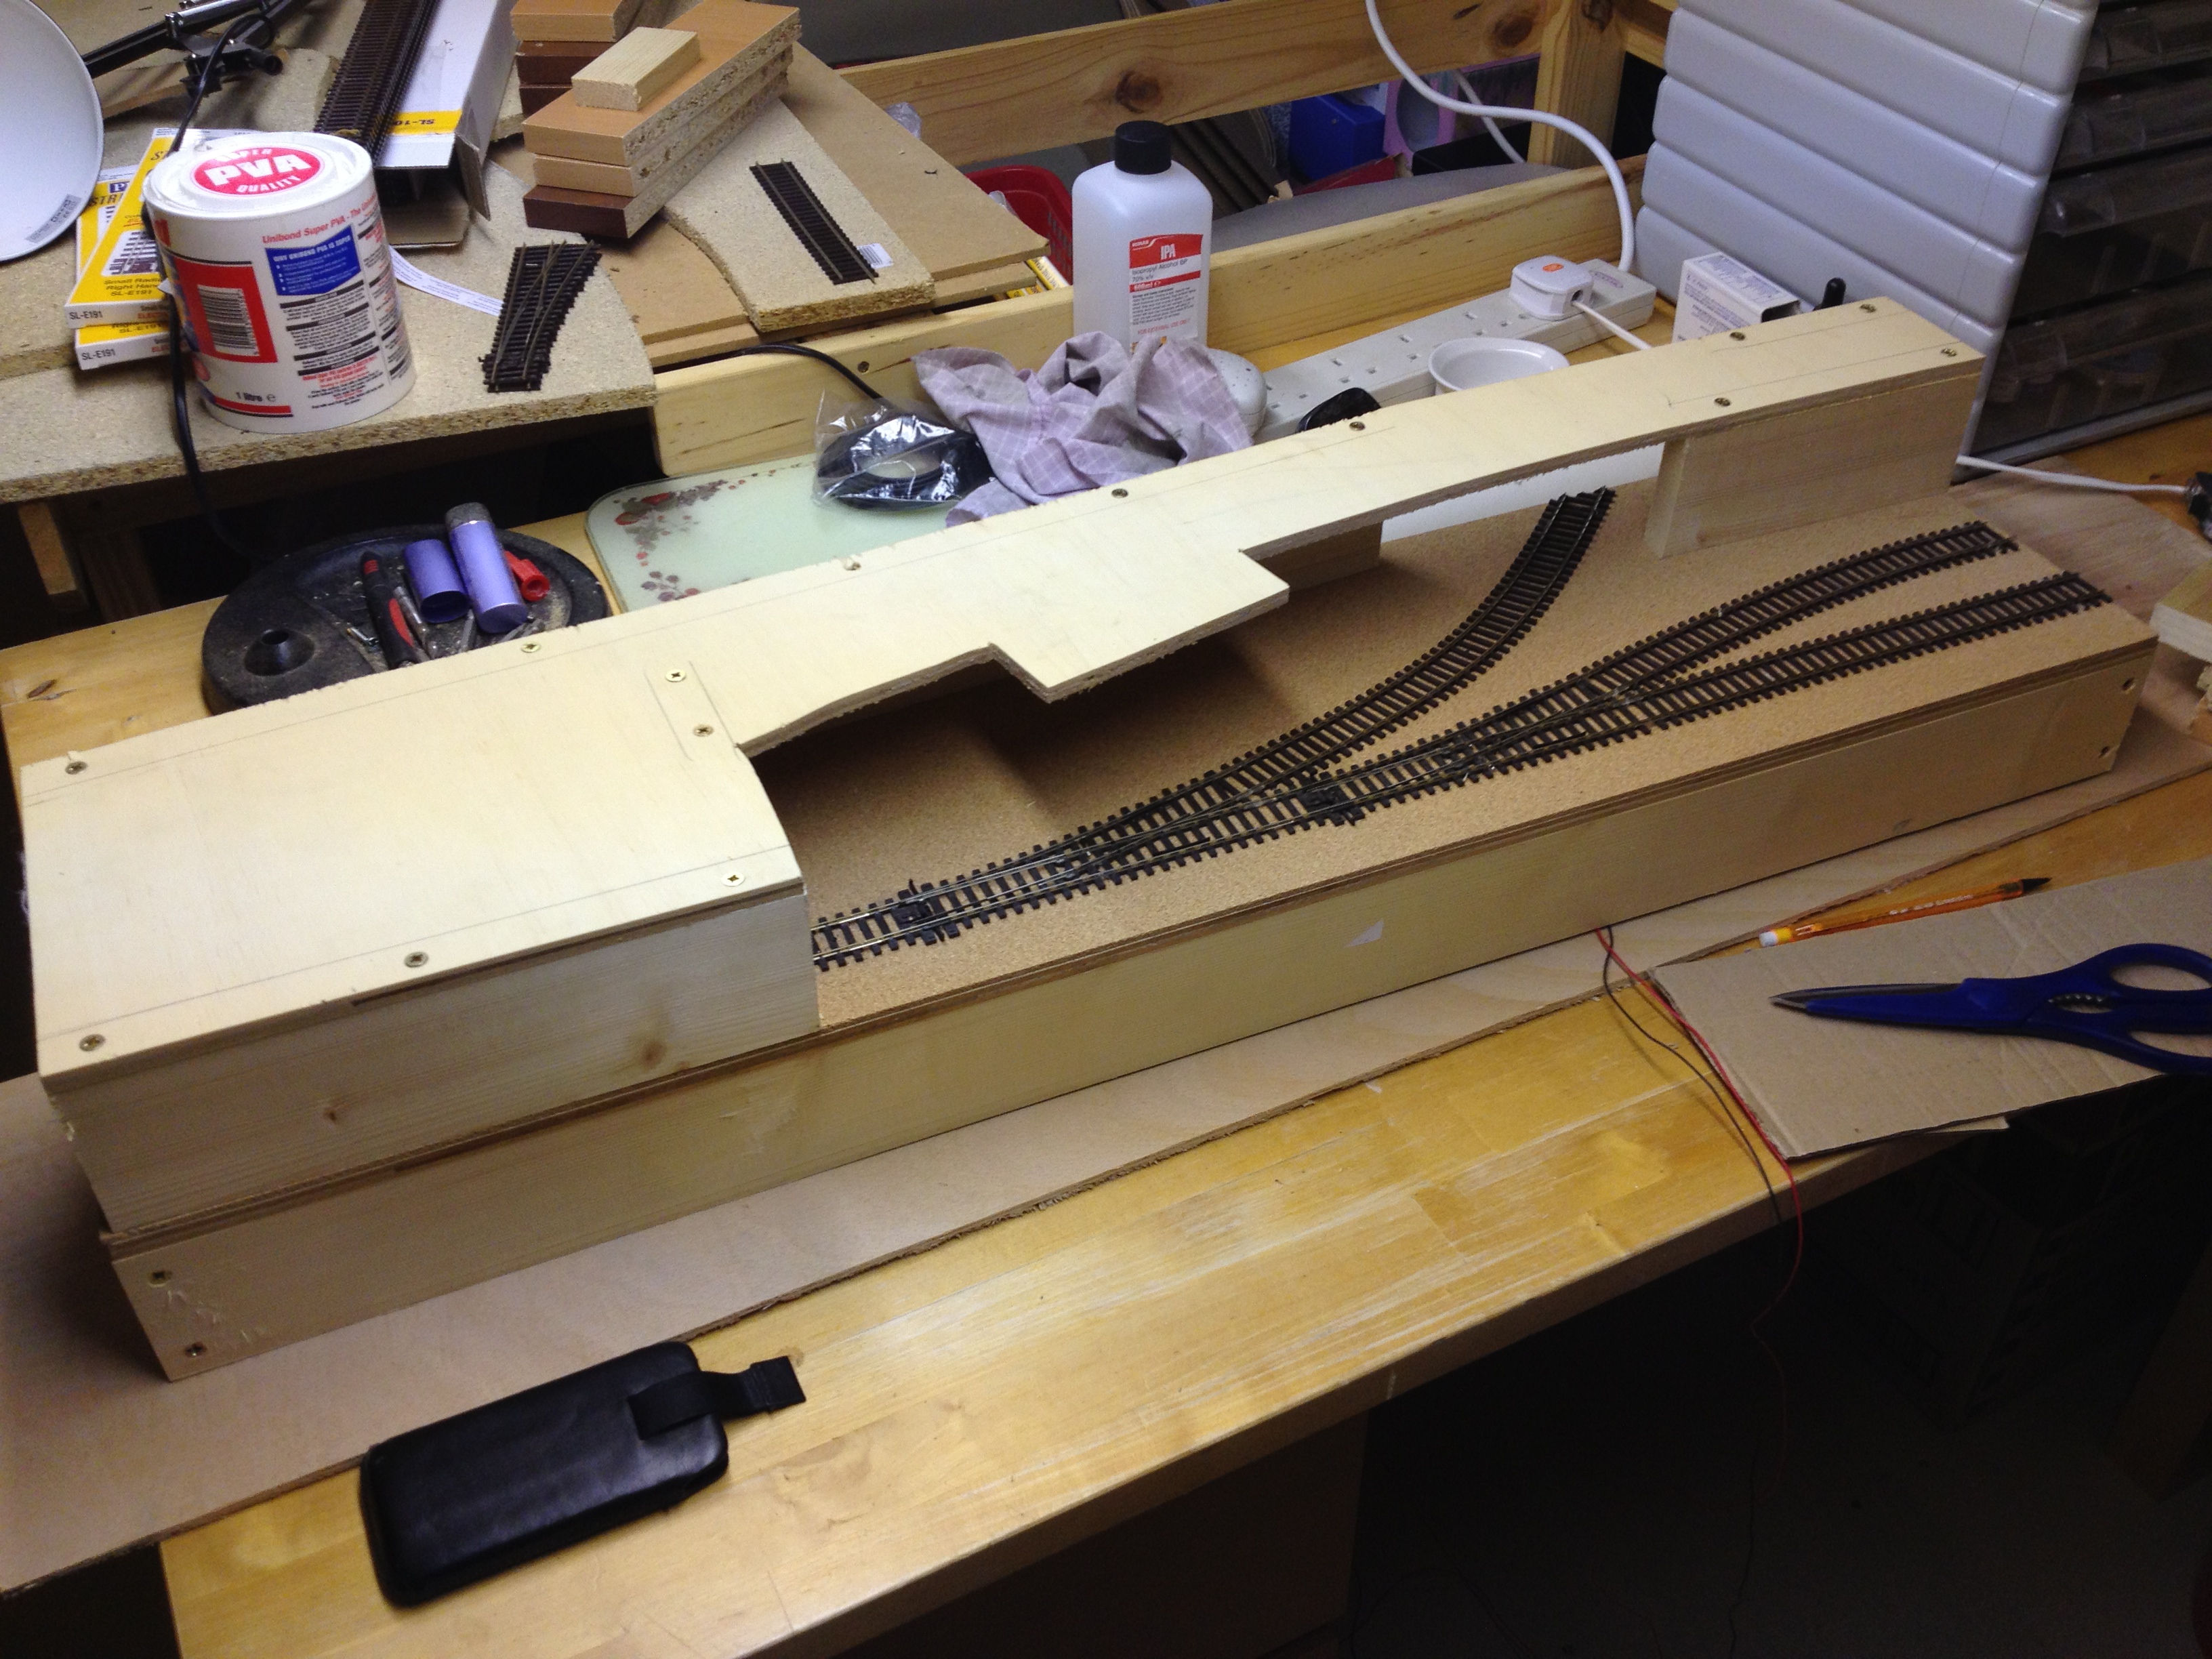
Plywood cut to shape and ready to fit
The top board is screwed into place on the frames. The outside frames fit directly on top of the frames for the lower level, so these are glued to the lower level board, and for extra strength I’ve added some supports in the middle that can be screwed from top and bottom.
Once again the final surface is completed using cork sheet glued with PVA to the plywood and weighted down. When cork has been rolled up for some time it really doesn’t want to lie flat by itself.
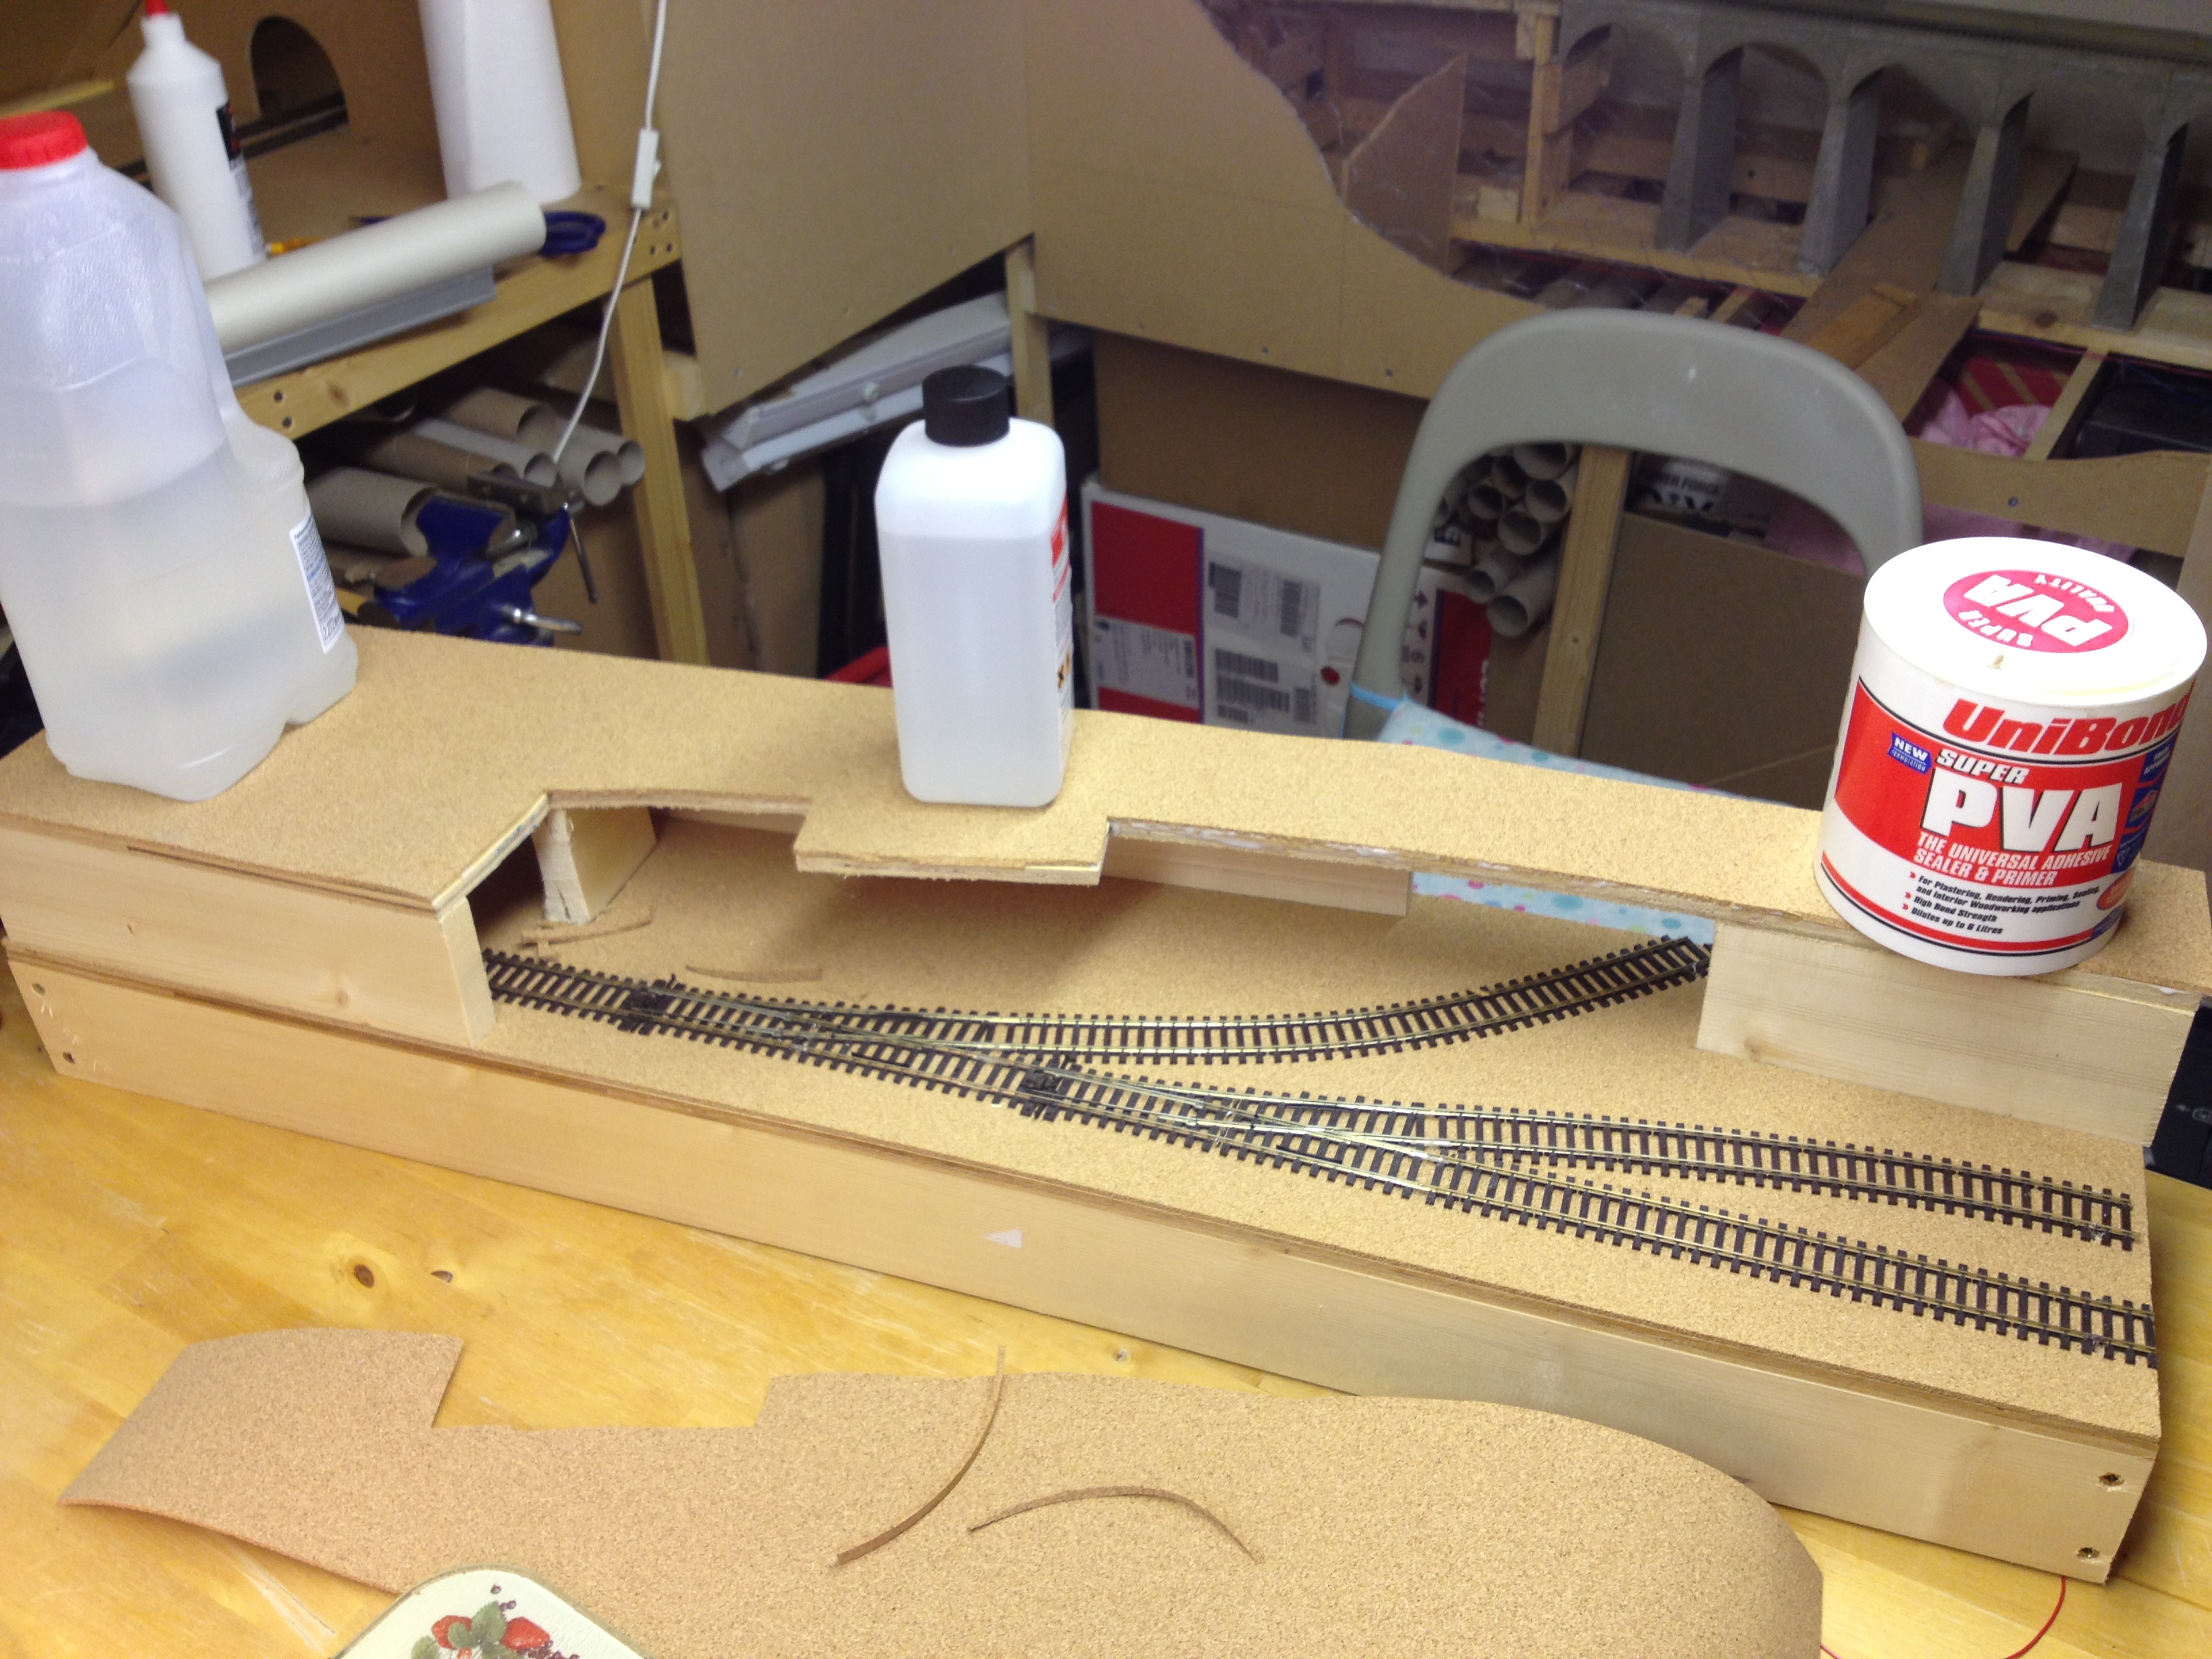
Once the whole assembly has been given 24 hours to dry the top track is pinned into place. At this stage the outcrop for the signal box is still over size, that can be adjusted later with a cutting disc on the Dremel. Its much easier to leave it too big and cut away later than have it too small and try sticking bits back on.
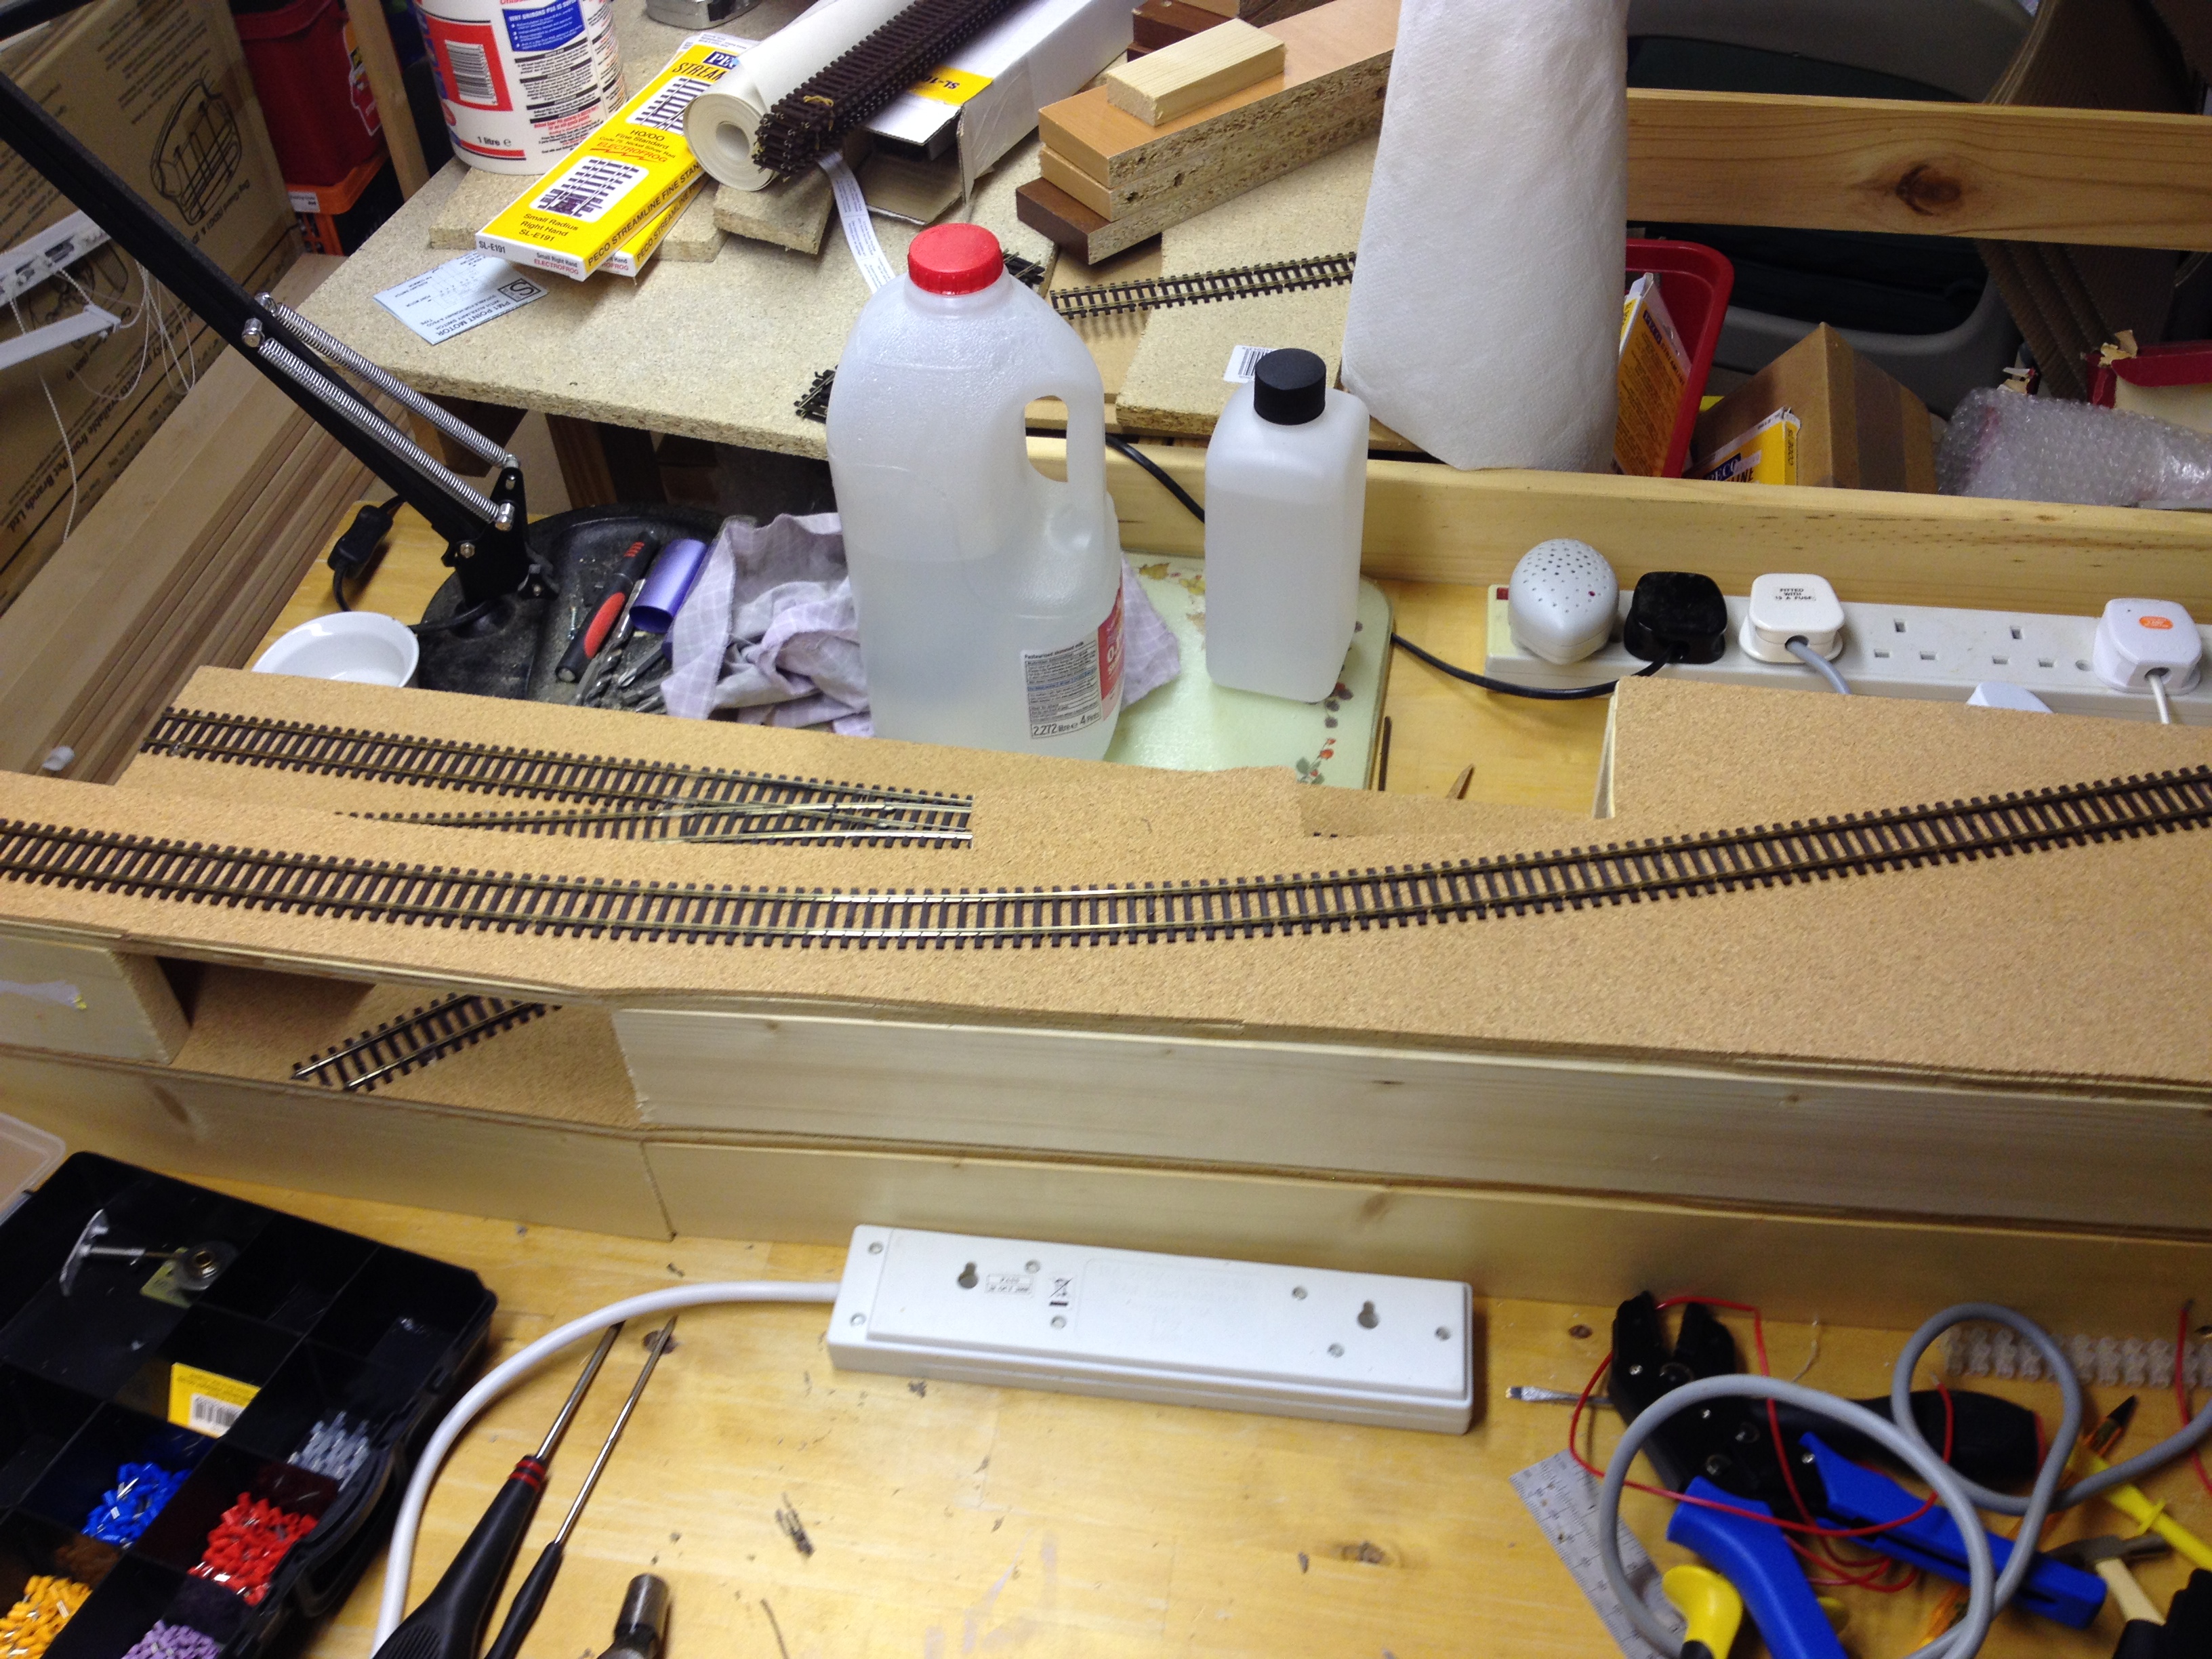
Top track in place and layout almost operational
So the new layout is finally emerging and at last work can start on some scenery to make it look like a real railway. Now we need a name and a location so that there is purpose behind all the features that are added. A sense of location is one of the most important things in a convincing layout. Every railway company had different practices and every locale its own architecture and industries, these all go together to give the viewer a true feel of place and time.


thats really interesting! i never would have thought of making such a small layout. do you plan to attatch it to something or..?
The idea is that it can be completely self contained, because the lower section is an inglenook puzzle it can be made to work and be interesting without staging. Half the upper track will be hidden and that will allow a small train to run back and forth apparently disappearing off scene.
Both levels do have tracks that go right to the edge of the board so an extension is possible in the future.
Have you made any more progress? I’m dieing to see more. 🙂
Yes, must find time to write about it. The railway arches are now in place and I’ve got everything operational using a Hornby elink (though I’m not overly impressed with it)